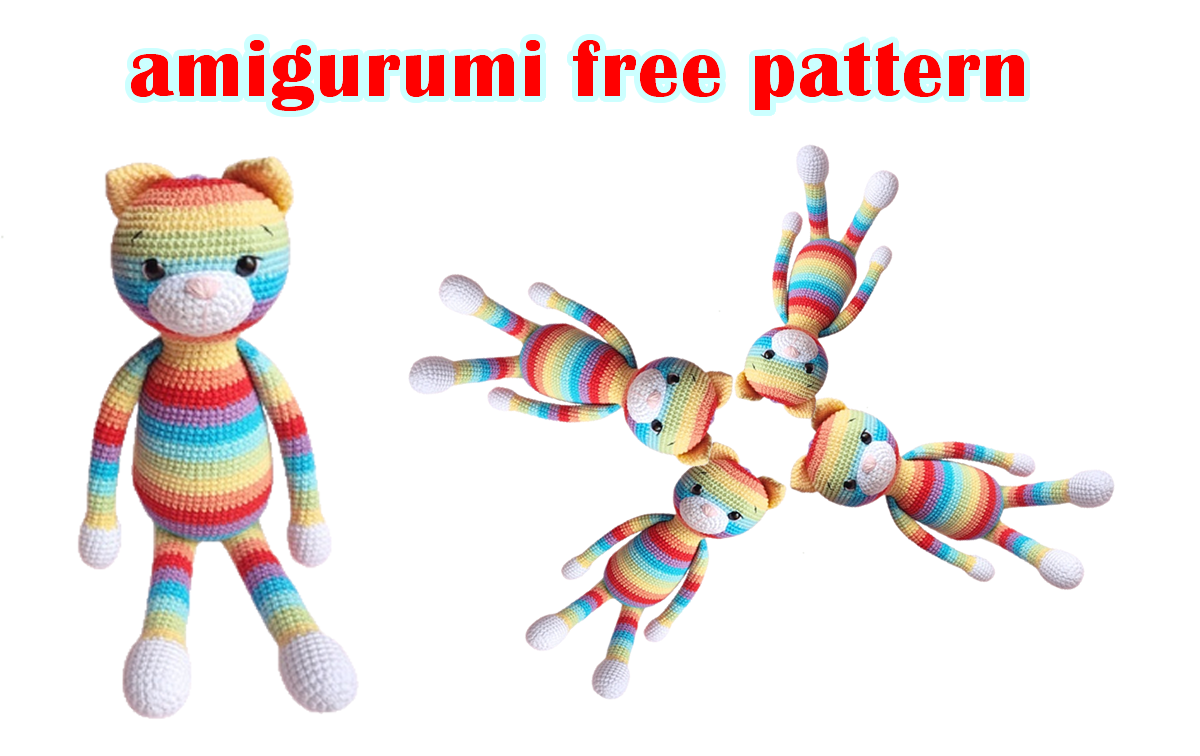
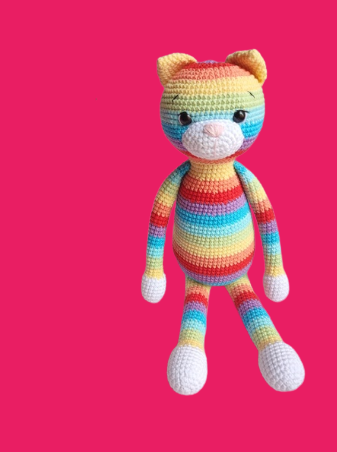
Hello dear amigurumi lovers, we share many amigurumi recipes with you in detail. The recipe we will share today will be the rainbow cat recipe.
It is really nice to knit amigurumi animal recipes. Rainbow cat is a model that you will enjoy knitting. Make sure your children will have a good time when this pattern is finished. Rainbow cat recipes may be different, but I can say this is the sweetest.
Amigurumi cute Rainbow cat also helps you instill a love of animals in your kids.
Don’t forget to check out our other free recipes.
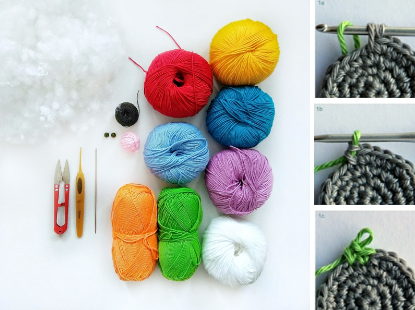
Necessary materials:
1. A range of eight colors: white, red, orange, yellow, green, golden, blue, purple (I have lilac, because the magic ring didn’t show purple).
For my cats, I use two brands of semi-cotton: Gazzal baby cotton and Vita cotton lira. It is advisable to use incyazhu of one brand, but I didn’t have all the necessary colors for the magic ring, so I had to combine it. If you also decide to use a mix of different brands, choose so that it matches incimerously in thickness and footage.
Colors, magic ring and inc, you can choose any, and alternate the stripes in any order. In the description, I will use magic ring to call the alternation of magic ring stripes in the photo.
2. Filler (synthetic winterizer, synthetic winterizer or holofiber)
3. Hook number 2 (or any other that matches your incyazhe)
4. Beads for the eyes (I have 8 mm)
5. Long sewing needle, scissors, stuffing tool (I use a bamboo stick)
6. A little pink and black incyazhi for embroidery wear a magic ring, roti magic ring, eyebrows.
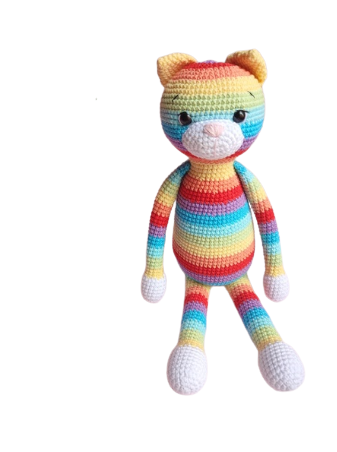
With the use of magical materials, the cat turns out to be approximately 30cm in size.
All details are knitted in a spiral, and stuffed in the knitting process. If you don’t need to stuff something, or don’t fill it to the end, I will additionally use magic ring to call. The inc color change occurs in the last loop of the row (i.e. the inc row is knitted to the last loop, a color change is made, and the next row is knitted in a new color, photo below)
Legend:
MAGİC RİNG – amigurumi ring
sc – single crochet
inc- incibavmagic ring
dec-decаmagic ring
sl-st- connecting post
dc – double crochet
pdc – double crochet
STAGE 1
HEAD
Let’s start with purple:
1 row: 6 sc in MAGİC RİNG
2nd row: inc. in magic ring waiting loop – 12sc
3 row: (1sc, inc.) * 6 – 18sc
Red:
4th row: 1sc, inc, (2sc, inc.) * 5.1sc – 24sc
5 row: (3sc, inc.) * 6 – 30sc
6 row: 2sc, inc, (4sc, inc.) * 5, 2sc – 36sc
Orange:
7 row: (5sc, inc.) * 6 – 42sc
8 row: 3sc, inc, (6sc, inc.) * 5, 3sc– 48sc
9 row: (7sc, inc.) * 6 – 54sc
Yellow:
10th row: 4sc, inc, (8sc, inc.)*5, 4sc–60sc
11 row: (9sc, inc.) * 6 – 66sc
12 row: 5sc, inc, (10sc, inc.) * 5, 5sc – 72sc
Green:
13-15 row: 72 sc
Golden:
16-18 row: 72 sc
Blue:
19-21 row: 72 sc
Lilac:
22-23 row: 72 sc
24 row: 5sc, dec, (10sc, dec.) * 5, 5sc- 66 sc
Red:
25 row: (9sc, dec.) * 6 – 60sc
26 row: 4sc, dec, (8sc, dec.) * 5, 4sc- 54sc
27 row: (7sc, dec.) * 6 – 48sc
Orange:
28 row: 3sc, dec, (6sc, dec.) * 5, 3sc- 42sc
29 row: (5sc, dec.) * 6 – 36sc
30 row: 2sc, dec, (4sc, dec.) * 5, 2sc- 30sc
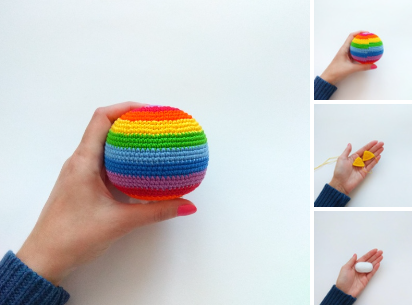
Finish knitting, fasten the thread and cut off.
Stuff the head tightly.
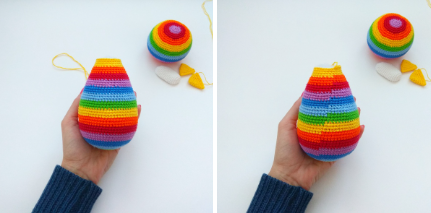
(I added a photo of the head from the back, this is how the color change looks like for me)
EARS 2 parts.
We knit in yellow:
1 row: 4 sc in MAGİC RİNG
2nd row: inc. in magic ring waiting loop – 8sc
3 row: (1sc, inc.) * 4 – 12sc
4 row: (5sc, inc.) * 2 – 14sc
5 row: (6sc, inc.) * 2 – 16sc
6 row: (7sc, inc.) * 2 – 18sc
7 row: (8sc, inc.) * 2 – 20sc
Fold eyelet and inc 10sc on both sides.
Leave the thread for incishing. Ears do not need to be stuffed.
MORDOCHMAGİC RİNG
We knit in white:
1st row: 7 sc in MAGİC RİNG
2nd row: inc. in magic ring waiting loop – 14sc
3 row: (1sc, inc.) * 7 – 21sc
4-15 row: 21sc (12 rows)
16 row: (1sc, dec.) * 7 – 14sc
17th row: 7dec.
Pull off the remaining hole, sew the thread inside (you can immediately leave the tail for sewing, but it’s more convenient for me to sew the muzzle with a separate thread).
The muzzle does not need to be stuffed.
STAGE 2
BODY
We start in yellow:
1 row: 6 sc in MAGİC RİNG
2nd row: inc. in magic ring waiting loop – 12sc
3 row: (1sc, inc.) * 6 – 18sc
Green:
4th row: 1sc, inc, (2sc, inc.) * 5.1sc – 24sc
5 row: (3sc, inc.) * 6 – 30sc
6 row: 2sc, inc, (4sc, inc.) * 5, 2sc – 36sc
Golden:
7 row: (5sc, inc.) * 6 – 42sc
8 row: 3sc, inc, (6sc, inc.) * 5, 3sc– 48sc
9 row: (7sc, inc.) * 6 – 54sc
Blue:
10th row: 4sc, inc, (8sc, inc.)*5, 4sc–60sc
11 row: (9sc, inc.) * 6 – 66sc
12row: 66sc
Lilac:
13-15 row: 66 sc
Red:
16-18 row: 66 sc
Orange:
19-21 row: 66 sc
Yellow:
22-24 row: 66 sc
Green:
25 row: (9sc, dec.) * 6 – 60sc
26-27 row: 60sc
Golden:
28-29 row: 60sc
30 row: 4sc, dec, (8sc, dec.) * 5, 4sc- 54sc
Blue:
31-33 row: 54 sc
Lilac:
34 row: (7sc, dec.) * 6 – 48sc
35-356poison: 48sc
red
37 row: 3sc, dec, (6sc, dec.) * 5, 3sc- 42sc
38-39 row: 42sc
Orange:
40 row: (5sc, dec.) * 6 – 36sc
41-42 row: 36sc
Yellow:
43 row: 2sc, dec, (4sc, dec.) * 5, 2sc- 30sc
44-46 row: 30sc
Stuff the body tightly in the knitting process, fasten the thread and leave a long tail for incising.
STAGE 3
LEGS 2pcs
Let’s start with white:
1 row: 6 sc in MAGİC RİNG
2nd row: inc. in magic ring waiting loop – 12sc
3 row: (1sc, inc.) * 6 – 18sc
4th row: 1sc, inc, (2sc, inc.) * 5.1sc – 24sc
5-11 row: 24 sc (7 rows)
Yellow:
12 row: (1sc, dec) * 8 – 16sc
13-14 row: 16sc
Green:
15-17 row: 16sc
Golden:
18-20 row: 16sc
Blue:
21-23 row: 16sc
Lilac:
24-26 row: 16sc
Red:
27-29 row: 16sc
Orange:
30-32 row: 16sc
Yellow:
33-35 row: 16sc
Green:
36-38 row: 16sc
Golden:
39-40 row: 16sc
We knit another 8 sc, fold the leg in half and connect.
Can be connected by incosto incotying 8 sc for both walls. But I use a different way, because if you connect inc, then inc and inc, legs torus chat in different directions. I also wanted them to look more or less incyamo.
Therefore, I connect as follows: 4sc, 2 pdc, 2dc.
The second magic ring knife is knitted in the same way, but closed in the reverse order: 2ch, 2dc, 2pdc, 4sc.
Leave a long tail for incising.
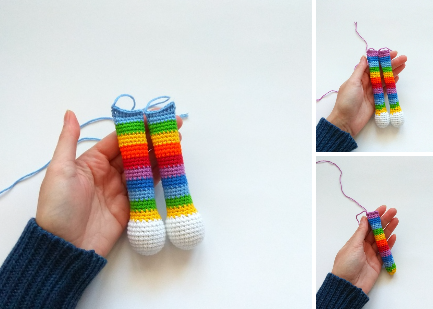
Stuff the legs in the knitting process: fill the bottom very tightly, the middle is medium, the upper part (incimero 1-2 cm) can not be stuffed.
HANDLES 2pcs
Let’s start with white:
1 row: 6 sc in MAGİC RİNG
2nd row: inc. in magic ring waiting loop – 12sc
3 row: (1sc, inc.) * 6 – 18sc
4-9 row: 18 sc (6 rows)
Yellow:
10th row: (1sc, dec)*6 – 12sc
11-12 row: 12sc
Green:
13-15 row: 12sc
Golden:
16-18 row: 12sc
Blue:
19-21 row: 12sc
Lilac:
22-24 row: 12sc
Red:
25-27 row: 12sc
Orange:
28-30 row: 12sc
Yellow:
31st-33rd row: 12sc
Green:
34-36 row: 12sc
Golden:
37-39 row: 12sc
Blue:
40-42 row: 12sc
Lilac:
43-44 row: 12 sc
İnco knit another 6 sc, fold the handle in half and connect incyamo 6 sc
The second hand of the magic ring is knitted in the same way.
Stuff the handles in the knitting process: fill the bottom very tightly, the middle is medium, the upper part (incimero 1-2 cm) can not be stuffed.
TAIL:
We start in yellow:
1st row: 6sc in MAGİC RİNG
2nd row: inc. in magic ring waiting loop – 12sc
3rd row: 12sc
Green:
4-6 row: 12sc
Golden:
7-9 row: 12sc
Blue:
10-12 row: 12sc
Lilac:
13-15 row: 12sc
Red:
16-18 row: 12sc
Orange:
19-21 row: 12sc
Yellow:
22-24 row: 12sc
Green:
25-27 row: 12sc
Golden:
28-30 row: 12sc
Blue:
31-33 row: 12sc
Lilac:
34-35 row: 12sc
İnco knit another 6 sc, fold the ponytail in half and connect incyamo 6sc
Stuff the tail in the knitting process: fill the bottom very tightly, the middle is medium, the upper part (incimerno 1-2 cm) can not be stuffed.
STAGE 4
REGISTRATION AND COLLECTIONMAGİC RİNG
First we incise the muzzle:
Place it between rows 17 and 26 and secure with magic rings. İncishivayte in a circle. After the magic ring is almost incised, put a little filler under the muzzle, incise it evenly, and incise the muzzle to the end.
Next, incise the eyes:
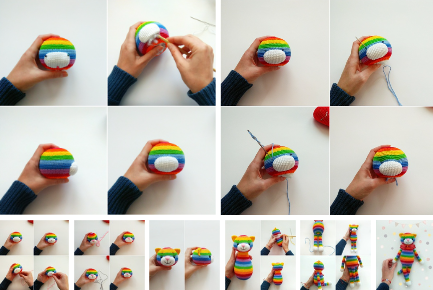
Before incising, I do tightening. So magic ring in the quality of the eye, I use ordinary beads, I like it when the eyes are a little “drowned”, for this, tightenings are made. If you use safety eyes, or don’t usually do tightening, you can skip this step.
The eyes are located between rows 17 and 18, the distance between them is approximately 11sc. We mark these points of clubs with magic rings. For tightening, we take a long needle with a thread and insert it into the base of the head, and bring it out in the place marked with a pin. We retreat to the side of 1sc, insert the needle there and bring it out to the base of the head. Can be repeated twice. We tighten the tails at the base of the head and tie with a strong knot. Repeat the same with the second eye.
Now we incise bead eyes into the resulting dimples. We embroider the eyebrows with the same thread. We bring all the knots and ponytails to the base of the head, then it all cinches in the neck.
Embroider nose and mouth:
With the magic rings we mark the place to wear the magic ring, it is located in the center of the muzzle, its width is approximately 6sc. Embroider with pink thread. We insert the needle into the base of the head and bring it out in the place marked with the first pin. Then, through the center of the nose, magic rings, magic rings fill the entire distance to the second pin. To make the nose look neater, add 2-3 magic ring stitches on top of it.
For the rotimagic ring we take a black thread, insert it into the base of the head, bring it out at the tip of the magic ring and lower the magic ring downwards by approximately 3sc. Embroider a smile.
We incise the ears:
The lugs are placed incimerally between 7th and 17th rows, inc and incisions are arranged with a slight magic ring in an arc.
Next, we incise the head to the body. After the magic ring is almost incised, do not forget to add some more filler to the neck for incency.
We incise the legs in the middle of the body. Make sure that the legs are incline, and the color change is inc at the back. We incise the handles, retreating approximately 3 rows from the head. The tail is incised at the back in the middle of the lilac stripe.
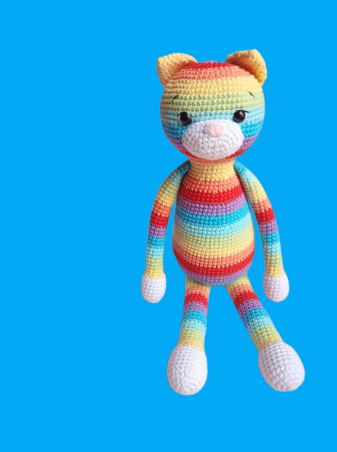
Congratulations, your rainbow cat is ready!
