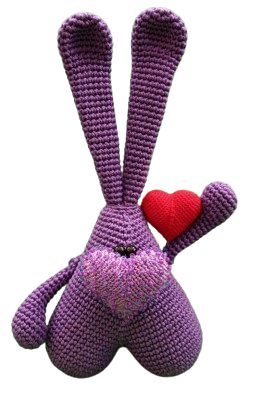
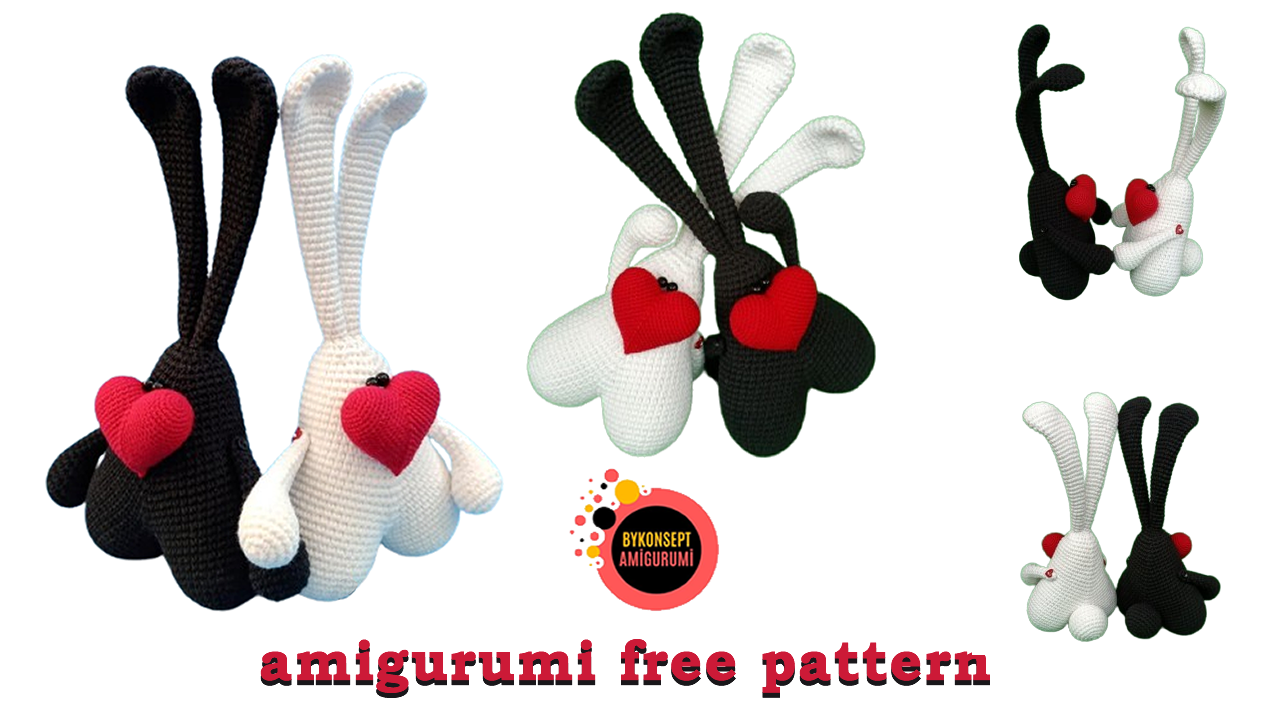
LIST OF REQUIRED MATERIALS:
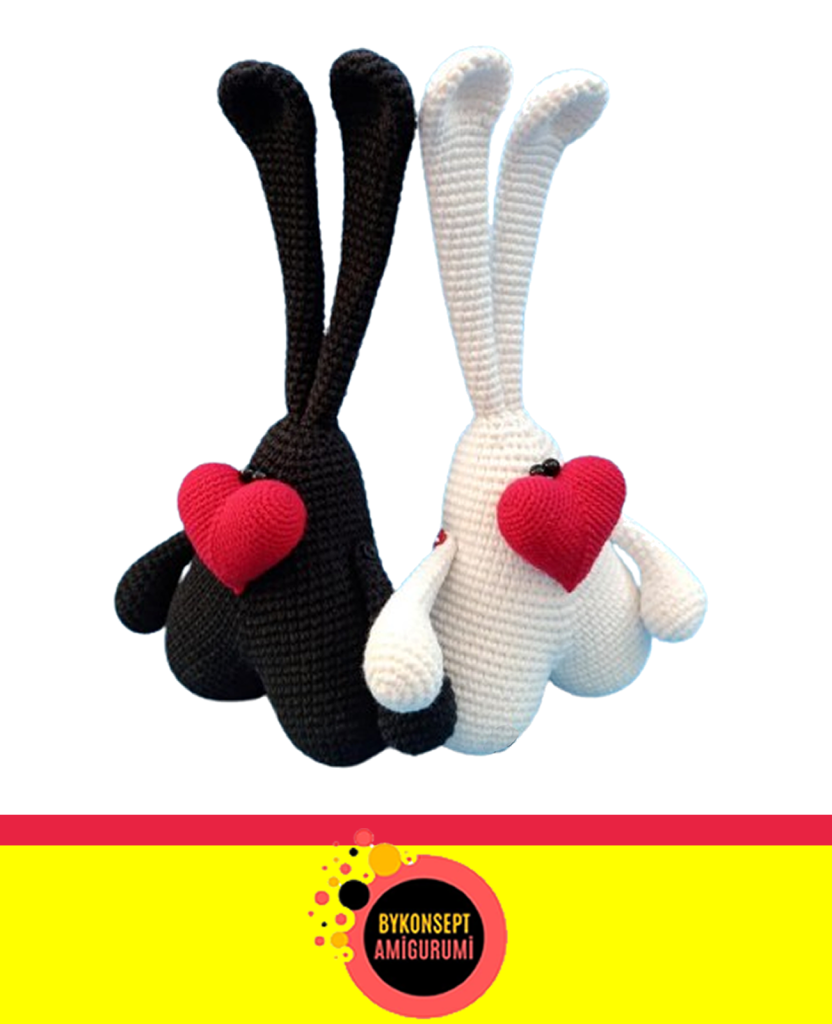
You can use absolutely any other inc, MK is universal!!!
We take into account that the tie on the nose should be at least three times thinner than the tie on the body.
Colors at your discretion!
Sizes will vary depending on the knitting density and the selected inc.
Size from recommended materials: 21cm.
1. YarnArt “Jeans” fabric: 50g – 160m, 55% cotton, 45% polyacrylic,
colors white and black (main)
2. Description of PNK named after. CM. Kirov “Iris”: 25 g – 150 m, 100% cotton,
scarlet color (nose)
3. Hook No. 2
4. Hook No. 1 or 1.2 (nose)
5. Beads: 4 pcs., black 0.5-1 cm – any (I have 0.5 cm)
6. Buttons: 4 pcs., black and white 0.5-1 cm – any
(I have 0.5 cm – black and 0.8 cm red hearts)
7. Filler – any
8. Long needle for toys with a thin eye and incious magic ringin or cotton
thread (for attaching movable handles)
9. Auxiliary tools: scissors, fine eye sewing needle, sewing
threadmagic ring (colors to match the stitching), pins, multi-colored markers (thin, cotton
threads for counting rows).
LEGEND:
MAGİC RING – amigurumi ring
sc. – single crochet
inc. – insibavmagic ring, inc we knit 2sc. from one sc.
inc.(1/3) – insibavmagic ring double, inc we knit 3 sc. from one sc.
dec. – decamagic ring, inc we tie loops at the front walls – 2 in 1 sc.
dec.(1/3) – decаmagic ring double, inc we knit 3 sts in 1 sc on the front walls.
n. – loop
ch. – air loop
sl-st. – connecting post
R. – row
pp. – rows
Action plan:
First we knit the details: the tail, the paws of the handle, the ears.
We knit a large and a small heart.
We sew the tail and ears to the body.
We sew the eyes to the small heart.
We fasten the handle legs.
Tail
1 rub.) – Dial in MAGİC RİNG 6 sc. We put a marker.
2p.) – 6 inc. – (12)
3p.) – (1 sc., 1 inc.) x 6 – (18)
4p.) – 1 sc., 1 inc., (2 sc., 1 inc.) x 5, 1 sc. – (24)
5 rub.) – 24 sc..
6p.) – (3sc., 1 inc.) x 6 – (30)
7-9rr.) – 30 sc. knit 3 rows
10 rub.) – (1 dec., 3 sc.) x 6 – (24)
11 rub.) – 24 sc. Let’s start stuffing with filler, tightly!
12r.) – 1sc., dec., (2 sc., dec.) x 5, 1 sc. – (18)
13r.) – 9dec. – (9)
Finally fill it with filler.
The tail serves as a support, so we stuff it very tightly!
– Pull 9 loops. Pin. Leave the thread for sewing on the tails of the magic ring.
HANDLES (Paws) – 2 parts.
1 rub.) – Dial in MAGİC RİNG 6 sc.
2p.) – 6 inc. – (12)
3p.) – (1 sc., 1 inc.) x 6 – (18)
4-7rr.) – 18 sc. knit 4 rows
8r.) – 6 sc., 3 dec., 6 sc. – (15)
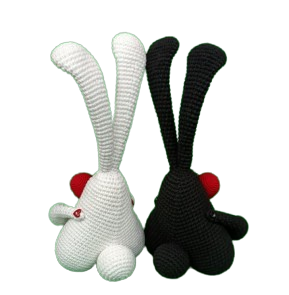
9r.) – 5 sc., 1 dec., 1 sc., 1 dec., 5 sc. – (13)
10p.) – 5 sc., 1 dec 1/3 (inc. knit 1 sc. from three sts.), 5 sc. – (eleven)
Fill only the lower part of the foot with filler.
The top one remains without padding.
11-12rr.) – 11 sc. knit 2 rows
13r.) – 1 dec., 9 sc. – (10)
14 rub.) – 10 sc.
15 rub.) – 1 dec., 8 sc. – (9)
16 rub.) – 9 sc.
17 rub.) – 1 dec., 7 sc. – (8)
18 rub.) – 8 sc.
19 rub.) – 1 dec., 6 sc. – (7)
20-21rr.) – 7 sc. knit 2 rows
– Pull 7 loops.
Fasten and thread the thread.
We knit the second handle.
EARS – 2 parts.
1p.) – Type in MAGİC RİNG 6 sc.. Place a marker.
2p.) – 6 inc. – (12)
3p.) – (1 sc., 1 inc.) x 6 – (18)
4p.) – (5sc., 1 inc.) x 3 – (21)
5-8rr.) – 21 sc. knit 4 rows
9r.) – 7 sc., 4 dec., 6 sc. – (17)
10-11rr.) – 17 sc. knit 2 rows
12 rub.) – 1 dec., 15 sc. – (16)
13-14rr.) – 16 sc. knit 2 rows
15 rub.) – 1 dec., 14 sc. – (15)
16-17rr.) – 15 sc. knit 2 rows
18 rub.) – 1 dec., 13 sc. – (14)
19-20rr.) – 14 sc. knit 2 rows
21r.) – 1 Dec., 12sc. – (13)
22-23rr.) – 13 sc. knit 2 rows
24 rub.) – 1 dec., 11 sc. – (12)
25-26rr.) – 12 sc. knit 2 rows
27r.) – 1 dec., 10 sc. – (eleven)
28-29rr.) – 11 sc. knit 2 rows
30 rub.) – 1 dec., 9 sc. – (10)
31-32rr.) – 10 sc. knit 2 rows
33r.) – 1 dec., 8 sc. – (9)
34-35rr.) – 9 sc. knit 2 rows
36 rub.) – 1 dec., 7 sc. – (8)
37-40rr.) – 8 sc. knit 4 rows
Pin. Leave the thread for sewing the ears, 15-20 cm.
Attention!
Only fill the last 7 – 9 rows tightly.
Leave the top part without stuffing.
We knit the second eye.
big heart (body) MAGİC RING 6 sc. We put a marker.
2p.) – 6 inc. – (12)
3p.) – (1 sc., 1 inc.) x 6 – (18)
4p.) – 1 sc., 1 inc., (2 sc., 1 inc.) x 5, 1 sc. – (24)
5p.) – (3 sc., 1 inc.) x 6 – (30)
6r.) – 30 sc.
7p.) – 2 sc., 1 inc., (4 sc., 1 inc.) x 5, 2 sc. – (36)
8-12rr.) – 36 sc. knit 5 rows
13r.) – 35 sc., 1 sl-st. – (36)
Pin.

We cut the thread, leaving a tip of 25-30 cm for attaching the two halves.
We knit the second part in the same way.
We do not cut the thread, we continue knitting.
14 rubles) In this row we connect with the second half:
– 16 sc., go to the second part (see video for connection), 32 sc., go to the first part
(see video for connection), 16 sc. – (64)
15 rub.) – 15 sc., 1 dec., 30 sc., 1 dec., 15 sc. – (62)
16r.) – 15 sc., 1 dec., 29 sc., 1 dec., 14 sc. – (60)
Close the remaining hole between the two halves of the magic rings.
You can knit 4 sl-st loops.
Or you can simply sew the hole.
We use the thread left over from the first
halves 25-30 cm.
17r.) – 14 sc., 1 dec., 28 sc., 1 dec., 14 sc. – (58)
18 rub.) – 14 sc., 1 dec., 27 sc., 1 dec., 13 sc. – (56)
Pay attention to the Marker!
It should go straight along the side.
19 rub.) – 13 sc., 1 dec., 26 sc., 1 dec., 13 sc. – (54)
20 rub.) – 13 sc., 1 dec., 25 sc., 1 dec., 12 sc. – (52)
21r.) – 12 sc., 1 dec., 24 sc., 1 dec., 12 sc. – (50)
22r.) – 12 sc., 1 dec., 23 sc., 1 dec., 11 sc. – (48)
23r.) – 11 sc., 1 dec., 22 sc., 1 dec., 11 sc. – (46)
24 rub.) – 11 sc., 1 dec., 21 sc., 1 dec., 10 sc. – (44)
We begin to fill with filler. Tight!
25 rub.) – 10 sc., dec., 20 sc., dec., 10 sc. – (42)
26r.) – 10 sc., dec., 19 sc., dec., 9 sc. – (40)
27r.) – 9 sc., dec., 18 sc., dec., 9 sc. – (38)
28 rub.) – 9 sc., dec., 17 sc., dec., 8 sc. (36)
29r.) – 8 sc., dec., 16 sc., dec., 8 sc. (34)
We continue to fill it with filler, tightly.
30 rub.) – 8 sc., dec., 15 sc., dec., 7 sc. (32)
31r.) – 7 sc., dec., 14 sc., dec., 7 sc. (thirty)
32r.) – 7 sc., dec., 13 sc., dec., 6 sc. (28)
33r.) – 6 sc., dec., 12 sc., dec., 6 sc. (26)
34 rub.) – 6 sc., dec., 11 sc., dec., 5 sc. (24)
We continue to fill it with filler, tightly.
35 rub.) – 5 sc., 1 dec.1/3 (inc. knit one sc. out of three), 9 sc., 1 dec.1/3, 4 sc. – (20)
36r.) – dec., 1 sc., 2 dec., 1 sc.. 2dec., 1 sc., 2 dec., 1 sc., dec. – (12)
Pin. Fasten and cut the thread, leaving a 25-30 cm tip for sewing on the ears.
We do not stuff the tip tightly. We do not tighten the hole; we will put ears in it.
HEART small (nose)
1p.) – Type in MAGİC RİNG 6 sc.. Place a marker.
2p.) -6 inc. – (12)
3p.) – (1 sc., 1 inc.) x 6 – (18)
4p.) – 1 sc., 1 inc., (2 sc., 1 inc.) x 5, 1 sc. – (24)
5 rub.) – 24 sc.
6p.) – (3 sc., 1 inc.) x 6 – (30)
7-10rr.) – 30 sc. knit 4 rows
11r.) – 29 sc., 1 sl-st. – (thirty)
Pin. Leave a thread for attaching two halves 20-25 cm.
We knit the second part in the same way.
We don’t fasten the thread, we just continue knitting.
12p.) In this row we connect with the second half by analogy with
big heart
– 13sc., go to the 2nd part, 26 sc., go to the 1st
detail 13 sc. – (52)

Attention!!! Next, we make all the decorations using one sc. out of three (1/3)
13r.) – 12 sc., 1 dec.(1/3), 23 sc., 1 dec.(1/3), 11 sc. – (48)
Close the remaining hole between the two halves of the magic rings.
You can knit 4 sl-st loops. Or you can simply sew the hole.
We use the thread remaining from the first half of 25-30 cm.
14 rub.) – 11 sc., 1 dec.(1/3), 21 sc., 1 dec.(1/3), 10 sc. – (44)
15 rub.) – 10 sc., 1 dec.(1/3), 19 sc., 1 dec.(1/3), 9 sc. – (40)
16 rub.) – 9 sc., 1 dec.(1/3), 17 sc., 1 dec.(1/3), 8 sc. – (36)
We start stuffing with filler and continue adding as we knit.
Not tight. The nose should keep its shape and remain light.
17 rub.) – 8 sc., 1 dec.(1/3), 15 sc., 1 dec.(1/3), 7 sc. – (32)
18 rub.) – 7 sc., 1 dec.(1/3), 13 sc., 1 dec.(1/3), 6 sc. – (28)
19 rub.) – 6 sc., 1 dec.(1/3), 11 sc., 1 dec.(1/3), 5 sc. – (24)
20 rub.) – 5 sc., 1 dec.(1/3), 9 sc., 1 dec.(1/3), 4 sc. – (20)
Let’s keep stuffing.
21r.) – 4 sc., 1 dec.(1/3), 7 sc., 1 dec.(1/3), 3 sc. – (16)
22r.) – 3 sc., 1 dec.(1/3), 5 sc., 1 dec.(1/3), 2 sc. – (12)
23r.) – 2 sc., 1 dec.(1/3), 3 sc., 1 dec.(1/3), 1 sc. – (8)
Let’s keep stuffing.
24r.) – 1 sc., 1 dec.(1/3), 1 sc., 1 dec.(1/3) – (4)
Pull 4 loops. Fasten and thread the thread.
COLLECTIONMAGİC RING
All details are ready!
All that remains is to connect everything.
1) We start with the ears.
2) Then we attach the tail.
Let me remind you that the tail serves as a support and
should be very tightly packed.
There was another Bunny model in the work on MK:
This is the main story of GA ZZAL “GIZA”:
50g, 125m, 100% mercerized cotton.
And “Iris” on the nose. 3) Before attaching the spout, I recommend planting
eyes.

4) We incise the nose with a thin needle and sewing
threadmagic rings to match the main thread.
5) The final touch!
We attach the handles to the buttons.
We will need a magic ring and a long needle for toys,
thick thread for fastening and suitable buttons.
Before installing handles, we try several options.
Look, the magic ring is better suited for your Zai.
