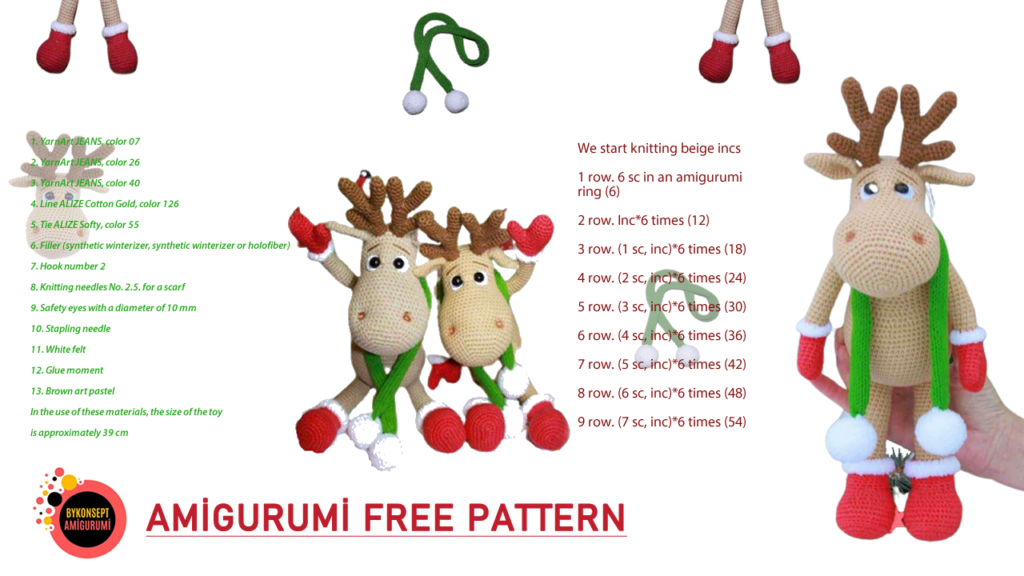
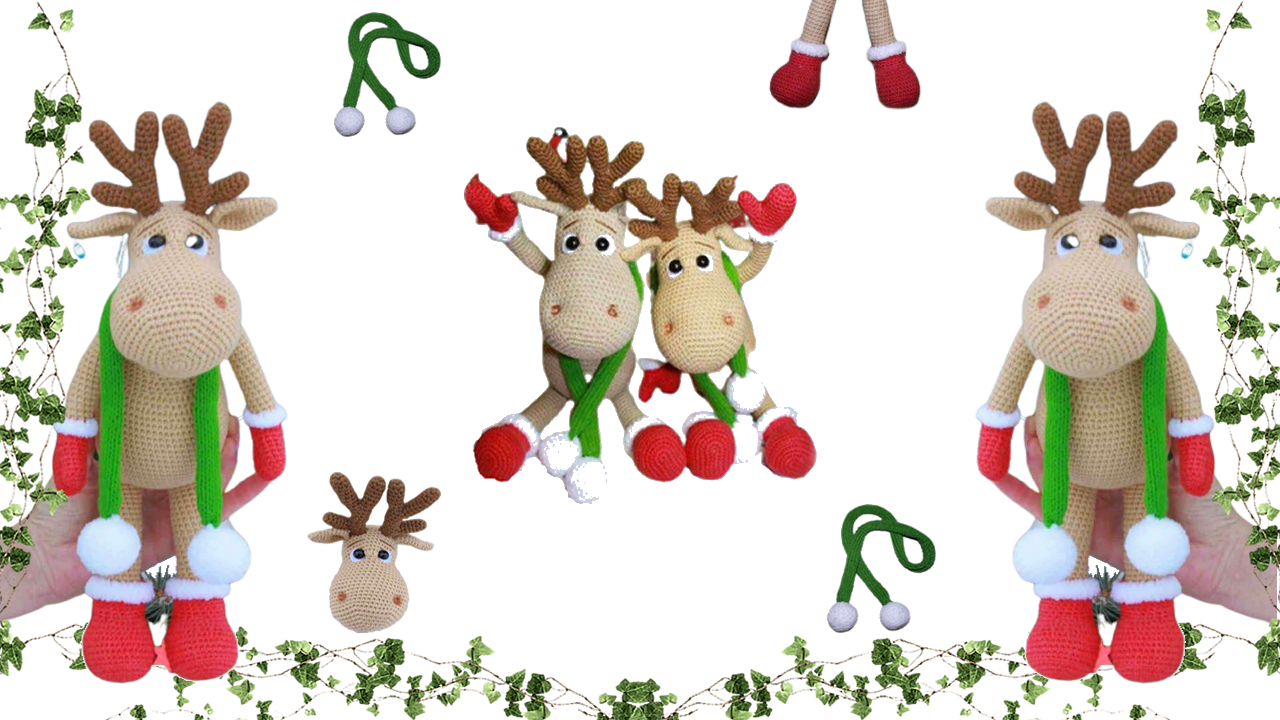
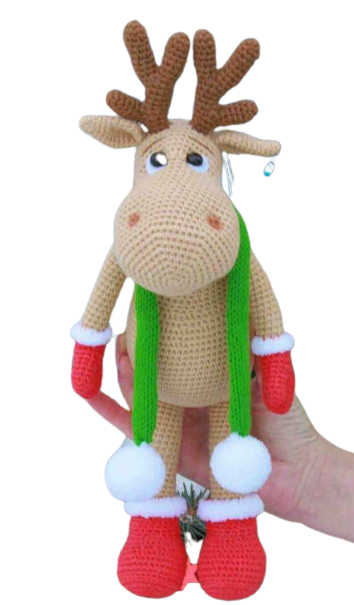
Hello dear amigurumi lovers, we share many amigurumi recipes with you in detail. The recipe we will share today will be the Christmas Deer recipe.
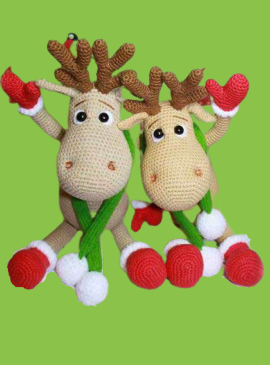
It is really nice to knit Amigurumi Christmas Deer recipes. Christmas Deer is a model that you will enjoy knitting. Make sure your kids will have a good time when this Christmas Deer pattern is finished. Christmas Deer may be different, but I can say this is the sweetest.
Amigurumi Christmas Deer also helps you instill a love of animals in your children.
Don’t forget to check out our other free recipes.
NECESSARY MATERIALS
1. YarnArt JEANS, color 07
2. YarnArt JEANS, color 26
3. YarnArt JEANS, color 40
4. Line ALIZE Cotton Gold, color 126
5. Tie ALIZE Softy, color 55
6. Filler (synthetic winterizer, synthetic winterizer or holofiber)
7. Hook number 2
8. Knitting needles No. 2.5. for a scarf
9. Safety eyes with a diameter of 10 mm
10. Stapling needle
11. White felt
12. Glue moment
13. Brown art pastel
In the use of these materials, the size of the toy
is approximately 39 cm
SYMBOLS
c.p. – air loop
sc – single crochet
inc – inc bonus
dec – decave
hdc – half double crochet
sl-st – connecting post
İNCNOTE
– Work in non-increasing spiral rows, do not
inc connect at the end of the row with connecting posts
and do not rotate the work unless instructed to do so.
– At the beginning of the row, use a marker or a thread of a different color,
which will help mark the first loop of each new row.
– For knitting this toy, you can use any
inc. The thicker the incyazha, the larger the size of the toy.
– Fill the toy with filler more densely so that
she hasn’t lost her shape.
HEAD
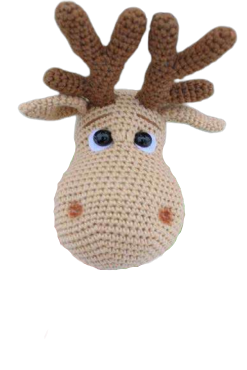
We start knitting beige incs
1 row. 6 sc in an amigurumi ring (6)
2 row. Inc*6 times (12)
3 row. (1 sc, inc)*6 times (18)
4 row. (2 sc, inc)*6 times (24)
5 row. (3 sc, inc)*6 times (30)
6 row. (4 sc, inc)*6 times (36)
7 row. (5 sc, inc)*6 times (42)
8 row. (6 sc, inc)*6 times (48)
9 row. (7 sc, inc)*6 times (54)
10-17 row. We knit without changes 54 sc (54)
18 row. (dec, 25 sc)*2 times (52)
19 row. (dec, 24 sc)*2 times (50)
20 row. (dec, 23 sc)*2 times (48)
21 row. (dec, 22 sc)*2 times (46)
22 row. (dec, 21 sc)*2 times (44)
23 row. (dec, 20 sc)*2 times (42)
24 row. (5 sc, dec)*6 times (36)
25 row. 7 sc, 7 inc hdc, 13 sc, dec, 7 sc (42)
Start stuffing your head
26-33 row. We knit without changes 42 sc (42)
Insert the eyes between 25 and 26 rows (in front of the muzzle, where
inc bonuses hdc) at a distance of 8-9 columns. I use
artificial eyes 10 mm and felt (circle 13-14 mm). Eyes
fasten.
34 row. (5 sc, dec)*6 times (36)
35 row. (4 sc, dec)*6 times (30)
36 row. (3 sc, dec)*6 times (24)
37 row. (2 sc, dec)*6 times (18)
38 row. (1 sc, dec)*6 times (12)
Fill your head to the end.
39 row. Dec*6 times (6)
Pull the hole, cut the thread and tuck the tip inward.
EYES DO NOT GLUE! THIS WE WILL DO AFTER
WEIGHTS!
EARS (2 parts)
We start knitting beige incs
1 row. 6 sc in an amigurumi ring (6)
2 row. We knit without changes 6 sc (6)
3 row. (1 sc, inc)*3 times (9)
4 row. We knit without changes 9 sc (9)
5 row. (2 sc, inc)*3 times (12)
6 row. (3 sc, inc)*3 times (15)
7 row. We knit without changes 15 sc (15)
8 row. (4 sc, inc)*3 times (18)
9-10 row. We knit without changes 18 sc (18)
11 row. (4 sc, dec)*3 times (15)
12 row. (3 sc, dec)*3 times (12)
Do not stuff the ears. Fold in half and inc knit 5 sc.
Leave a long thread for inc.
Fold the base of the ear and sew as shown in the photo.
İncish to the head at the level of 31 and 32 rows.
HORN (2 parts)
Horns we will knit from three parts
1 item
Start knitting brown incs
1 row. 6 sc in an amigurumi ring (6)
2 row. (1 sc, inc)*3 times (9)
3-6 row. We knit without changes 9 sc (9)
Fasten the thread and cut.
2 detail
Start knitting brown incs
1 row. 6 sc in an amigurumi ring (6)
2 row. (1 sc, inc)*3 times (9)
3-7 row. We knit without changes 9 sc (9)
Fasten the thread and cut.
3 detail
Start knitting brown incs
1 row. 6 sc in an amigurumi ring (6)
2 row. (1 sc, inc)*3 times (9)
3-9 row. We knit without changes 9 sc (9)
We do not cut the thread, but continue to knit the horns and connect everything
details.
10 row. According to the 3rd part, we do not knit, but immediately inciconnect to
2nd part and knit (1 sc, dec) * 3 times, now knit 3-
her details (1 sc, dec)*3 times (12)
11 row. We knit without changes 12 sc (12)
12 row. (2 sc, dec)*3 times (9)
13-15 row. We knit without changes 9 sc (9)
Now we will inc connect the 1st part.
16 row. According to the general detail, we do not knit, but inc we connect immediately to
1st part and knit (1 sc, dec) * 3 times, for a common part
inco knit (1 sc, dec) * 3 times (12)
17 row. We knit without changes 12 sc (12)
18 row. (2 sc, dec)*3 times (9)
19-20 row. We knit without changes 9 sc (9)
Leave the thread for incishing. Horns incish between
ears at the level of 31 and 32 rows.
DECORATION OF THE Muzzle
Eye tightening
Insert the needle into the point of one eye between 25 and 26 rows, thread
fasten or make a knot. Next, insert the needle into the point of the same
eyes, n o just down one row between 24 and 25 rows.
We bring out the needle at the point of the other eye between 25 and 26 rows,
tighten, we also insert the needle into the point of the same eye but on
one row below between 24 and 25 rows and draw the point of the other
eyes between 25 and 26 rows. We tighten again.
And so repeat 4-5 times.
Fasten the thread and cut. The eyelet is ready.
Now you need to glue the eyes (white felt) with glue. I
I used regular glue.
Embroider the brows with brown thread.
Stretching of the nostrils.
Mark with pins the points where the nostrils and mouth will be:
Points No. 1 are between 8 and 9 rows at a distance from each other
from a friend in 12 columns.
Points No. 2 are between 13 and 14 rows at a distance from each other
from a friend in 14 columns.
We insert the needle at point number 1, leaving a small tip outside.
We bring out the needle at point number 2.
Next, we introduce the needle into the same place, capturing one column.
We bring the needle to the place where the point is number 1, but lower by one row.
It turns out at one point we have two tails. Take these ponytails
tighten and tie into a knot.
You can repeat the same thing again. Cut the thread.
In the same way, make a tightening on the other side
faces.
The pull is ready.
Embroider the mouth with brown thread.
HANDLES (2 parts)
Our deer is wearing mittens, so we need to knit two parts.
1 item
Start knitting red incs
1 row. 6 sc in an amigurumi ring
2 row. (1 sc, inc)*3 times (9)
3-5 row. We knit without changes 9 sc (9)
Fasten the thread and cut.
2 detail
Start knitting red incs
1 row. 6 sc in an amigurumi ring
2 row. İnc bonus*6 times (12)
3 row. (3 sc, inc)*3 times (15)
4-7 row. We knit without changes 15 sc (15)
Now the two parts need to be combined into one.
8 row. We knit on the 2nd part 5 sc, 9 sc knit on the 1st part,
10 sc for 2nd part (24)
9 row. (2 sc, dec)*6 times (18)
10-11 row. We knit without changes 18 sc (18)
12 row. (1 sc, dec)*6 times (12)
13-14 row. We knit without changes 12 sc (12)
Start stuffing with filler
Change to incyazhu beige color
15 row. For the back walls of the loops inco we knit 12 sc (12)
16-34 row. We knit without changes 12 sc (12)
Stuff the handle with filler to the end, Stuff the handle from above
slightly.
Fold in half and inc knit 5 sc.
Leave a long thread for inc.
İnc we connect the thread to the half loops of the 14th row inc ALIZE Softy
white and inco knit 2 rows of 12 sc. Fasten the thread
cut and cut. Knit the second handle in the same way.
LEGS (2 parts)
Start knitting red incs
Dial 7 ch. + 1 v.p. rise
1 row. Start in 2nd st from hook inc, 5 sc, 6
sc in one loop, 5 sc, inc (20)
2 row. 2 inc, 5 sc, 6 inc, 5 sc, 2 inc (30)
3 row. (1 sc, inc)*2 times, 22 sc, (inc, 1 sc)*2 times (34)
4 row. 11 sc, (1 sc, inc)*6 times, 11 sc (40)
5 row. 2 inc, 38 sc (42)
6 row. For the back walls of the loops inco knit without changes 42 sc
(42)
7-9 row. We knit without changes 42 sc (42)
10 row. 13 sc, (1 sc, dec)*6 times, 11 sc (36)
11 row. We knit without changes 36 sc (36)
12 row. 10 sc, (1 sc, dec)*6 times, 8 sc (30)
13 row. 10 sc, 6 dec, 8 sc (24)
We change to incyazh of beige color, WE DO NOT CUT THE RED THREAD
and inc we pull the thread to the front, as we will knit
inc extension of the boot (see photo)
And now we knit a leg with a beige thread.
14 row. For the back walls of the loops inco knit (2 sc, dec) * 6 times (18)
15 row. (4 sc, dec)*3 times (15)
16-24 row. We knit without changes 15 sc (15)
Now in parallel we will tie the boot.
We take the red thread that we left for this and
inc we connect to the half loops of the 13th row.
14-20 row (BOOT). We knit without changes 24 sc (24)
Change to incyazhu ALIZE Softy white.
21-23 row (BOOT). We knit without changes 24 sc (24)
Cut the white thread and fasten off. Stuff the leg. white box
tuck.
İnco continue to knit the leg itself.
25-41 row. We knit without changes 15 sc (15)
Leave the thread for incishing. Stuff the leg to the end. Top
the legs can be stuffed not tightly so that the toy can be
plant. Knit the second leg in the same way.
BODY
Start knitting beige incs
1 row. 6 sc in an amigurumi ring (6)
2 row. Inc*6 times (12)
3 row. (1 sc, inc)*6 times (18)
4 row. (2 sc, inc)*6 times (24)
5 row. (3 sc, inc)*6 times (30)
6 row. (4 sc, inc)*6 times (36)
7 row. (5 sc, inc)*6 times (42)
8 row. (6 sc, inc)*6 times (48)
9 row. (7 sc, inc)*6 times (54)
10 row. (8 sc, inc)*6 times (60)
11 row. (9 sc, inc)*6 times (66)
12-22 row. We knit without changes 66 sc (66)
23 row. (9 sc, dec)*6 times (60)
24 row. We knit without changes 60 sc (60)
25 row. 18 sc, (2 sc, dec)*6 times, 18 sc (54)
26 row. We knit without changes 54 sc (54)
27 row. 18 sc, (1 sc, dec)*6 times, 18 sc (48)
Start stuffing the torso with filler
28-29 row. We knit without changes 48 sc (48)
30 row. (6 sc, dec)*6 times (42)
31-32 row. We knit without changes 42 sc (42)
33 row. (5 sc, dec)*6 times (36)
34-35 row. We knit without changes 36 sc (36)
36 row. (4 sc, dec)*6 times (30)
37-38 row. We knit without changes 30 sc (30)
39 row. (3 sc, dec)*6 times (24)
40-42 row. We knit without changes 24 sc (24)
Stuff the body to the end with filler
Next, we will knit it with turning rows
10 sc, sl-st, ch 1, turn
11 sc, sl-st, ch 1, p circle
12 sc, sl-st ch 1, turn
13 sc, sl-st, ch 1, turn
24 sc, sl-st
Fill the body with filler to the end
Leave a long thread for inc.
ASSEMBLY
İncisheyte head to the body, so that the belly was in front.
When stitching, fill the neck tightly with filler.
Incise handles to the body at the level of 38-39 rows.
İncisheyte legs to the body between the 2nd and 9th rows.
SCARF
We will knit a scarf with knitting needles.
Start knitting green incs
Cast on 11 stitches on the needles.
We knit a scarf with a regular stocking knit, 70 cm long.
Pumponchiki (2 parts)
Start knitting white ALIZE Softy incs
1 row. 6 sc in an amigurumi ring (6)
2 row. Inc*6 times (12)
3 row. (1 sc, inc)*6 times (18)
4 row. (2 sc, inc)*6 times (24)
5-8 row. We knit without changes 24 sc (24)
9 row. (2 sc, dec)*6 times (18)
10 row. (1 sc, dec)*6 times (12)
11 row. Decrement*6 times (6)
Pull the hole, leave the thread for sewing
Incise pom-poms on the ends of the scarf.
Wrap the scarf around the deer’s neck.
You can make tinting on the nostrils using pastels
Brown color.
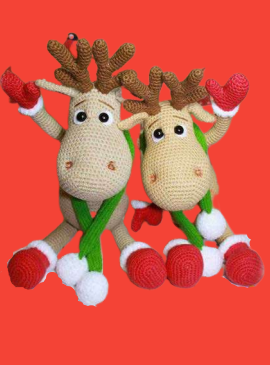
CONGRATULATIONS!!!!! YOUR DEER RUDOLF IS READY!
