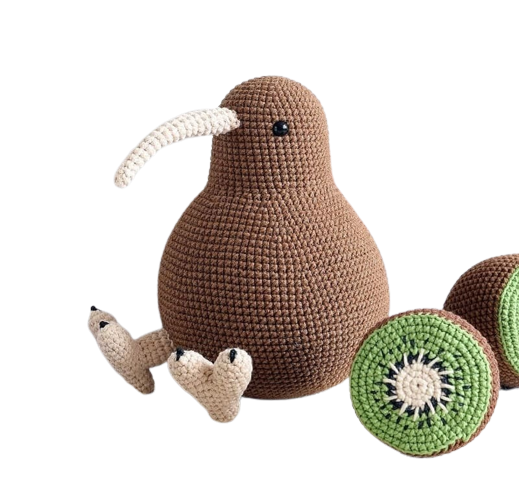
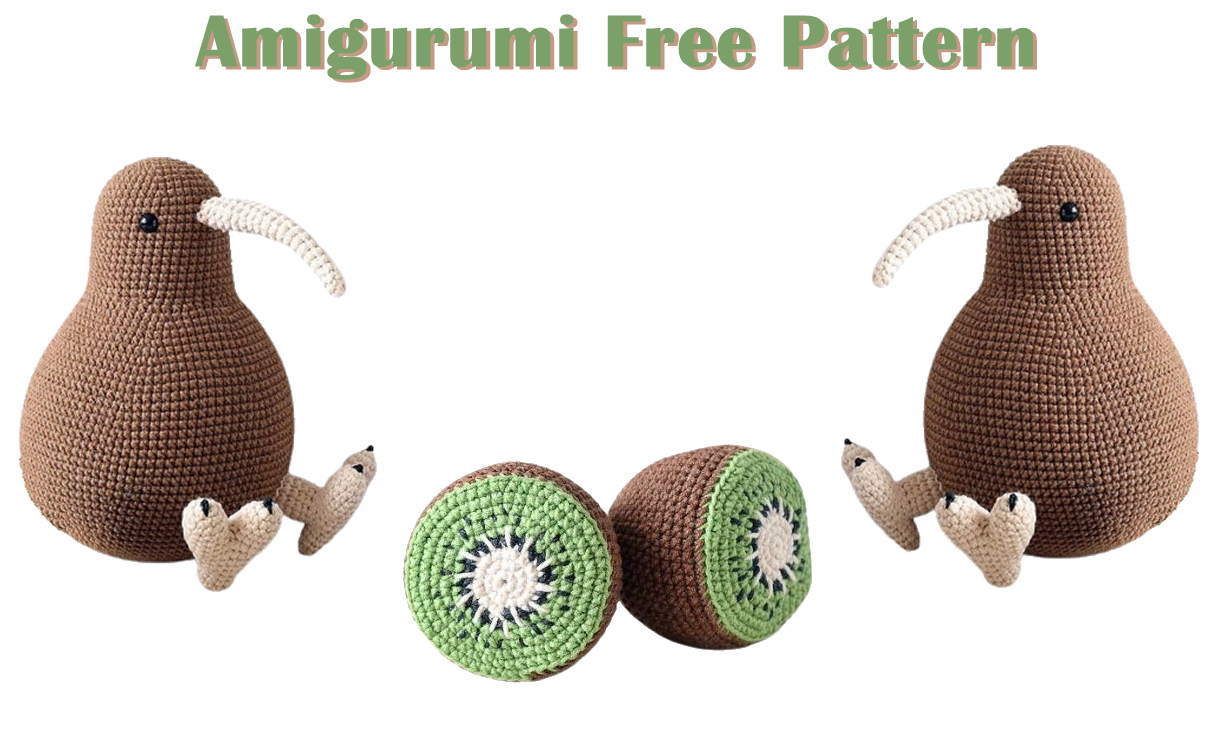
Hello dear amigurumi lovers, we share many amigurumi recipes with you in detail. The recipe we will share today will be the Kiwi And Bird recipe.
It is really nice to knit amigurumi animal recipes. Kiwi And Bird is a model that you will enjoy knitting. Make sure your kids will have a good time when this pattern is finished. There may be different Kiwi And Bird recipes, but I can say this is the sweetest.
Amigurumi cute Kiwi And Bird also helps you instill a love of animals in your children.
Don’t forget to check out our other free recipes.

To make the toy, the author used a 2.0 mm hook and YarnArt Jeans yarn. The head and body of the kiwi bird are knitted in one piece, and the legs and beak are sewn on. The height of the finished knitted bird is about 16 cm.
Necessary materials:
YarnArt Jeans in two colors: brown #40, beige #87
Hook 2.0 mm
Plastic eyes on a secure mount with a diameter of 6 mm
Needle, scissors, knitting marker (I use a paper clip)
Chenille wire 30 cm long for reinforcing the beak (optional)
Filler holofiber
Legend:
ss – connecting column
sc – single crochet
pr – increase
ub – decrease
(…) * 6 – in brackets shows what needs to be repeated n times
(…) – at the end, in brackets, the number of loops in a row is indicated
Crochet kiwi bird pattern
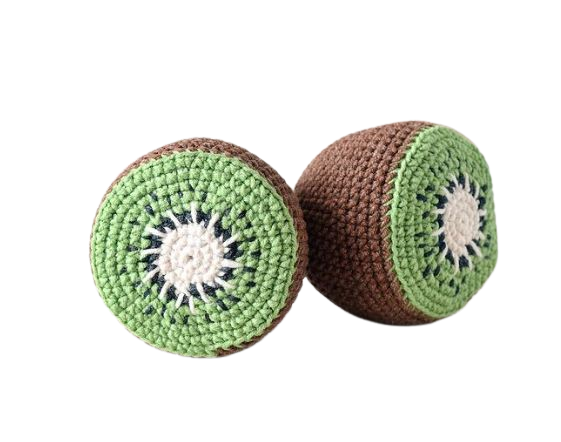
For decor, you can crochet kiwi fruits according to the pattern from @mauvepony \u003e\u003e Crochet kiwi
Head and torso
Knit with brown yarn:
1: 6 sc in the amigurumi ring (6)
2: (pr) * 6 (12)
3: (1 sc, 1 inc) * 6 (18)
4: (2 sc, 1 inc) * 6 (24)
5: (3 sc, 1 inc) * 6 (30)
6: (4 sc, 1 inc) * 6 (36)
7: (5 sc, 1 inc) * 6 (42)
8:42 sc
9: (6 sc, 1 inc) * 6 (48)
10-21: 48 sc (12 rows)
22: (6 sc, 1 dec) * 6 (42)
Between 12 and 13 rows, attach eyes at a distance of about 15 sc from each other. Stuff the detail.
23: (2 sc, 1 inc) * 14 (56)
24: (6 sc, 1 inc) * 8 (64)
25: (7 sc, 1 inc) * 8 (72)
26:72 sc
27: (22 sc, 2 inc) * 3 (78)
28:78 sc
29: (24 sc, 2 inc) * 3 (84)
30: 84 sc
31: 1 inc, 3 sc, 1 inc, 3 sc, 1 inc, 66 sc, inc, 3 sc, 1 inc, 3 sc, 1 inc (90)
32-33: 90 sc (2 rows)
34: (14 sc, 1 inc) * 6 (96)
35-36: 96 sb (2 rows)
37: (15 sc, 1 inc) * 6 (102)
38-44: 102 sc (7 rows)
45: (15 sc, 1 dec) * 6 (96)
46-47: 96 sb (2 rows)
48: (14 sc, 1 dec) * 6 (90)
49-50: 90 sb (2 rows)
51: (13 sc, 1 dec) * 6 (84)
52: 84 sc
53: (12 sc, 1 dec) * 6 (78)
54: (11 sc, 1 dec) * 6 (72)
55: (10 sc, 1 dec) * 6 (66)
56: (9 sc, 1 dec) * 6 (60)

Fill.
57: (8 sc, 1 dec) * 6 (54)
58: (7 sc, 1 dec) * 6 (48)
59: (6 sc, 1 dec) * 6 (42)
60: (5 sc, 1 dec) * 6 (36)
Stuff the piece evenly.
61: (4 sc, 1 dec) * 6 (30)
62: (3 sc, 1 dec) * 6 (24)
63: (2 sc, 1 dec) * 6 (18)
Hit to the end.
64: (1 sc, 1 dec) * 6 (12)
65: (dec) * 6 (6)
Pull the hole, fasten the thread and hide.
Beak
We knit with beige yarn:
1: 6 sc in the amigurumi ring (6)
2-6: 6 sc (5 rows)
7: 1 inc, 5 sc (7)
8-10: 7 sc (3 rows)
11: 1 inc, 6 sc (8)
12-14: 8 sc (3 rows)
15: 1 inc, 7 sc (9)
16-18: 9 sc (3 rows)
19: 9 sc, 1 sl-st
Leave a long thread for sewing.
Fold the chenille wire in half, twist it in a spiral, insert it into the beak, insert the other end of the wire inside the head, in the middle between the eyes. Secure the beak with pins and sew. Give the beak the desired shape.
Paws (2 parts)
We knit with beige yarn:
The paws consist of two parts: 1 – foot with fingers, 2 – lower leg.
1 part
Fingers (2 parts)
1: 6 sc in the amigurumi ring (6)
2: (pr) * 6 (12)
3-5: 12 sc (3 rows)
We knit the second same detail.
We connect two parts.
6: We knit 24 sbn through both parts: 12 sbn for the 1st part, 12 sbn for the 2nd part.
7:24 sc
8: (2 sc, 1 dec) * 6 (18)
9-10: 18 sc (2 rows)
Stuff your fingers.
11: (1 sc, 1 dec) * 6 (12)
12-14: 12 sc (3 rows)
Hit to the end.
15: (dec) * 6 (6)Pull holes. Fasten the thread and hide.
Black cotton yarn like “Iris” or floss can be used to embroider fingernails.
part 2
1: 6 sc in the amigurumi ring (6)
2: 6 inc, 1 slst (12)
Leave the thread for sewing.
Sew the resulting part in the center of the foot, capturing the back half-loop.
Attach a new thread to the part.
3: Knit 12 sc for the remaining front half loops.
4-5: 12 sc (2 rows)
6: 12 sc, 1 sl-st
Fill. Leave a long thread for sewing.
Sew the legs to the body so that the toy can sit leaning on them.
Kiwi bird is ready!

